...
...
Leave your contact details and our
consultant will contact you
new version - DrufelCNC 1.20


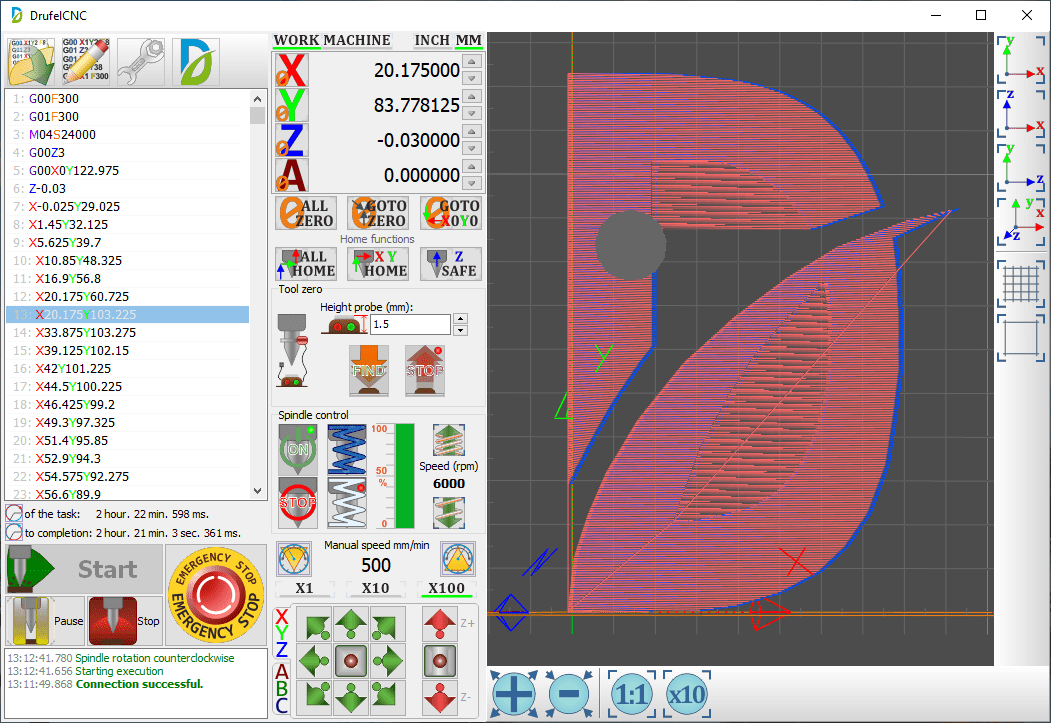
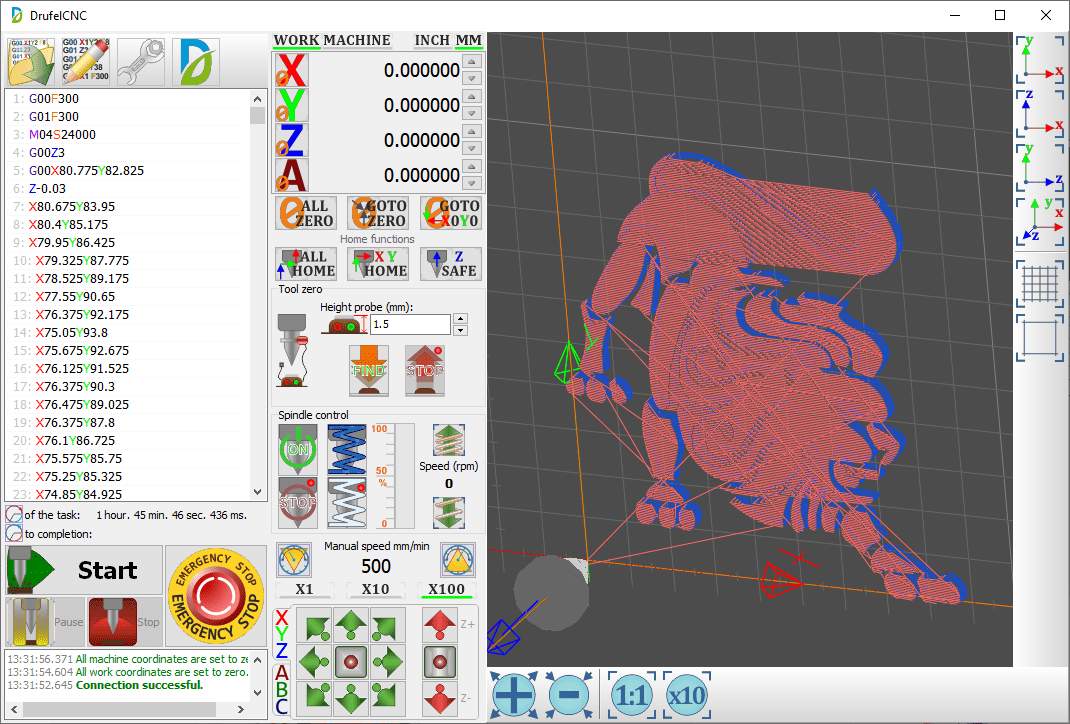
Main window
Main window 3D model
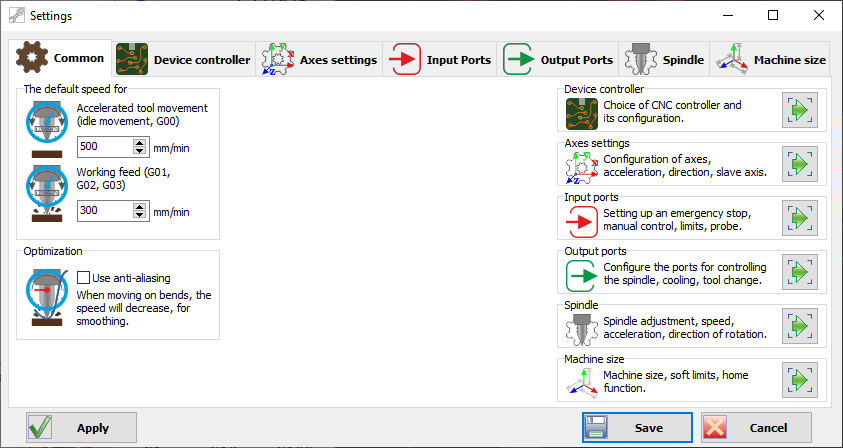
Common settings
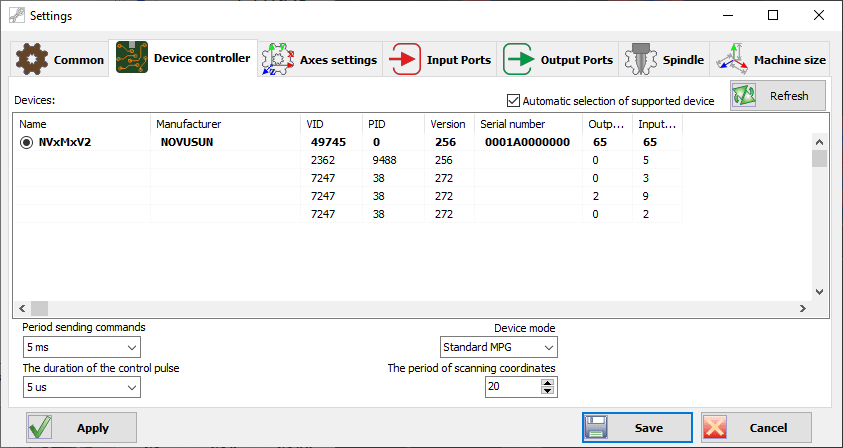
Controllers settings
Axes settings
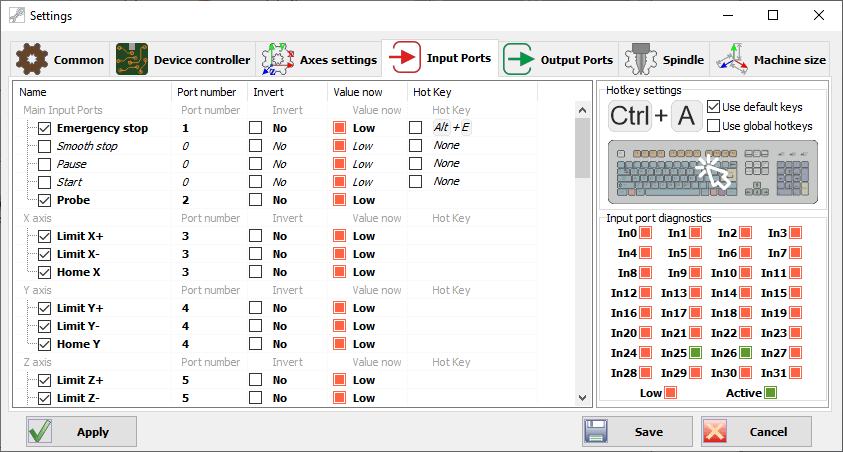
Input ports
Output ports
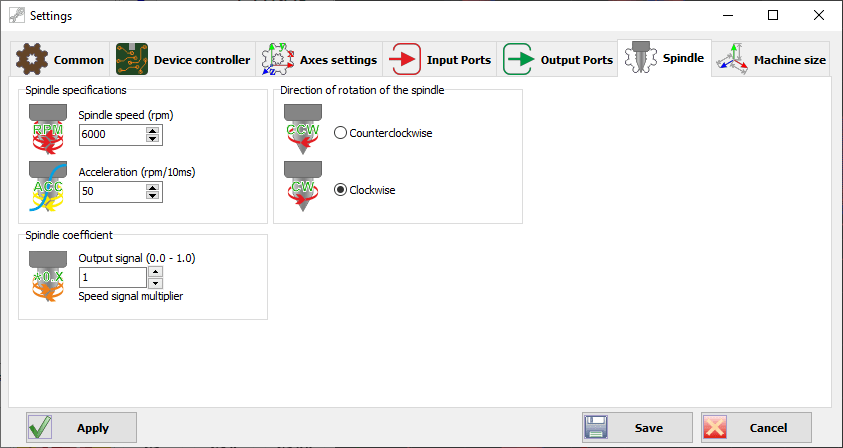
Spindle
Machine size
Manual control ABC
Tool zero
View the XY plane in 3D
View the XZ plane in 3D
View the ZY plane in 3D
View in 3D
The Challenger CH-1000 owner and installation manual provides essential instructions for mounting the 1/3 HP residential motor unit, securing the chain-drive rail, and setting travel limits. The documentation emphasizes proper door balance and the installation of safety sensors to ensure secure operation. You can access the detailed manual at justanswer.com Challenger Lifts
installation, operation & maintenance manual - Challenger Lifts
With a helper (the CH 1000 weighs ~35 lbs), lift the rail’s end into the header bracket and pin it. Then lift the powerhead and hang it from the ceiling using perforated angle iron. The rail must be level. Use a spirit level on the rail’s side.
Close the door. Attach the curved door bracket to the top panel’s center stile. Then connect the straight arm from the trolley to the door bracket. The manual stresses that the trolley should engage the release mechanism at the fully closed position.
Tide Daily © 2026
 DrufelCNC Installer 32-bit