SCREENSHOTS
App-Vorschau
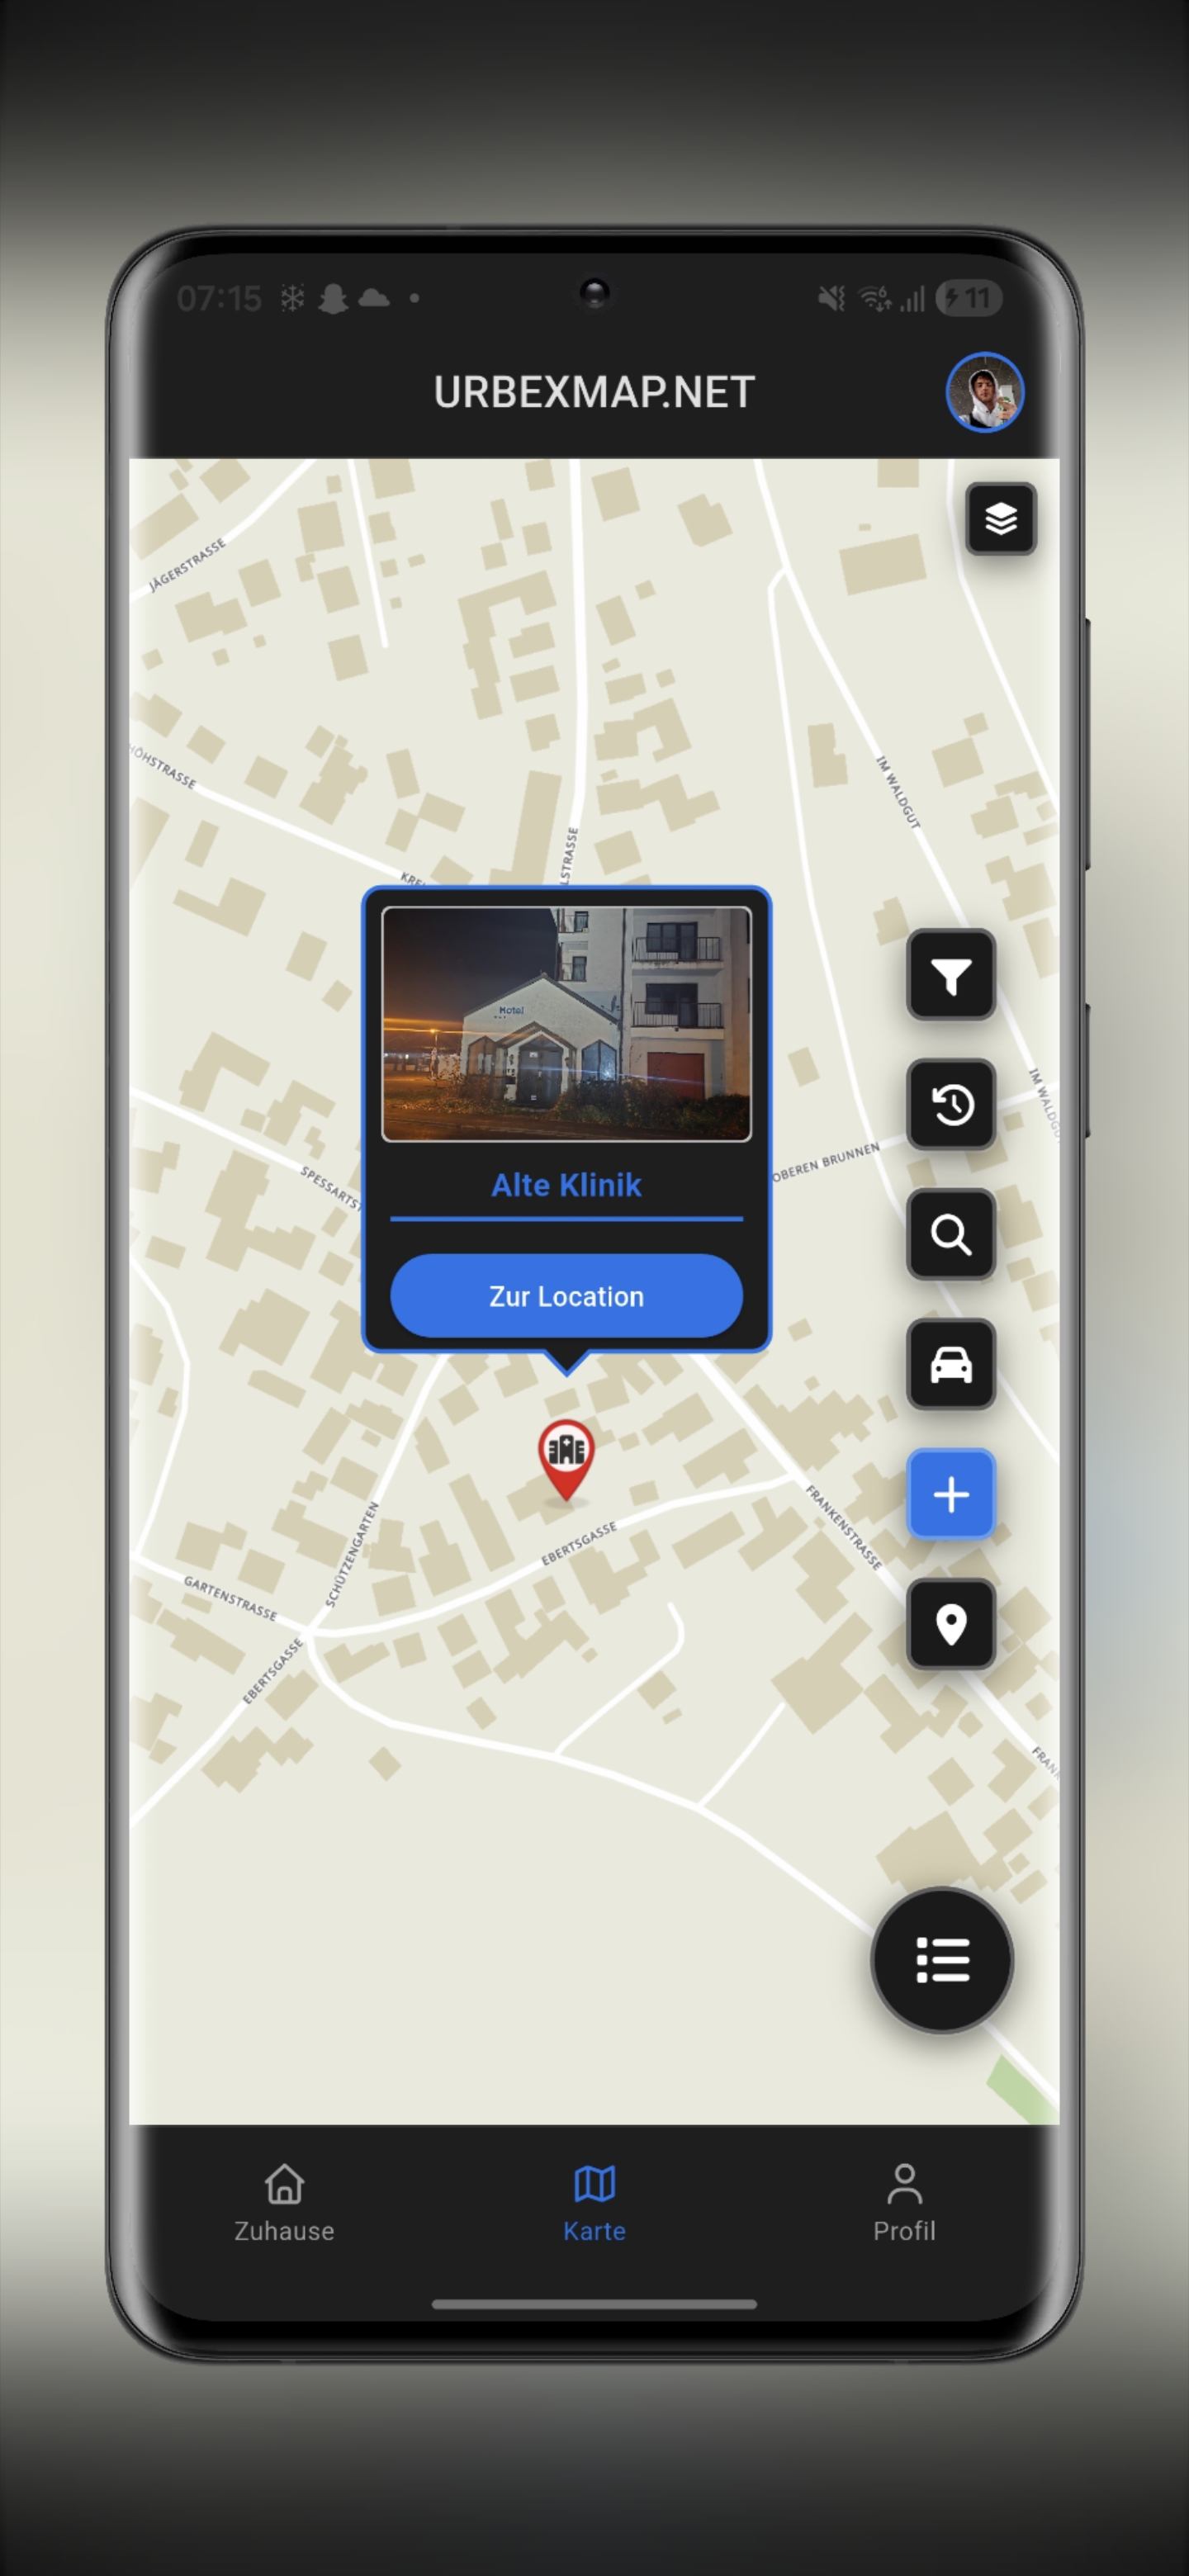
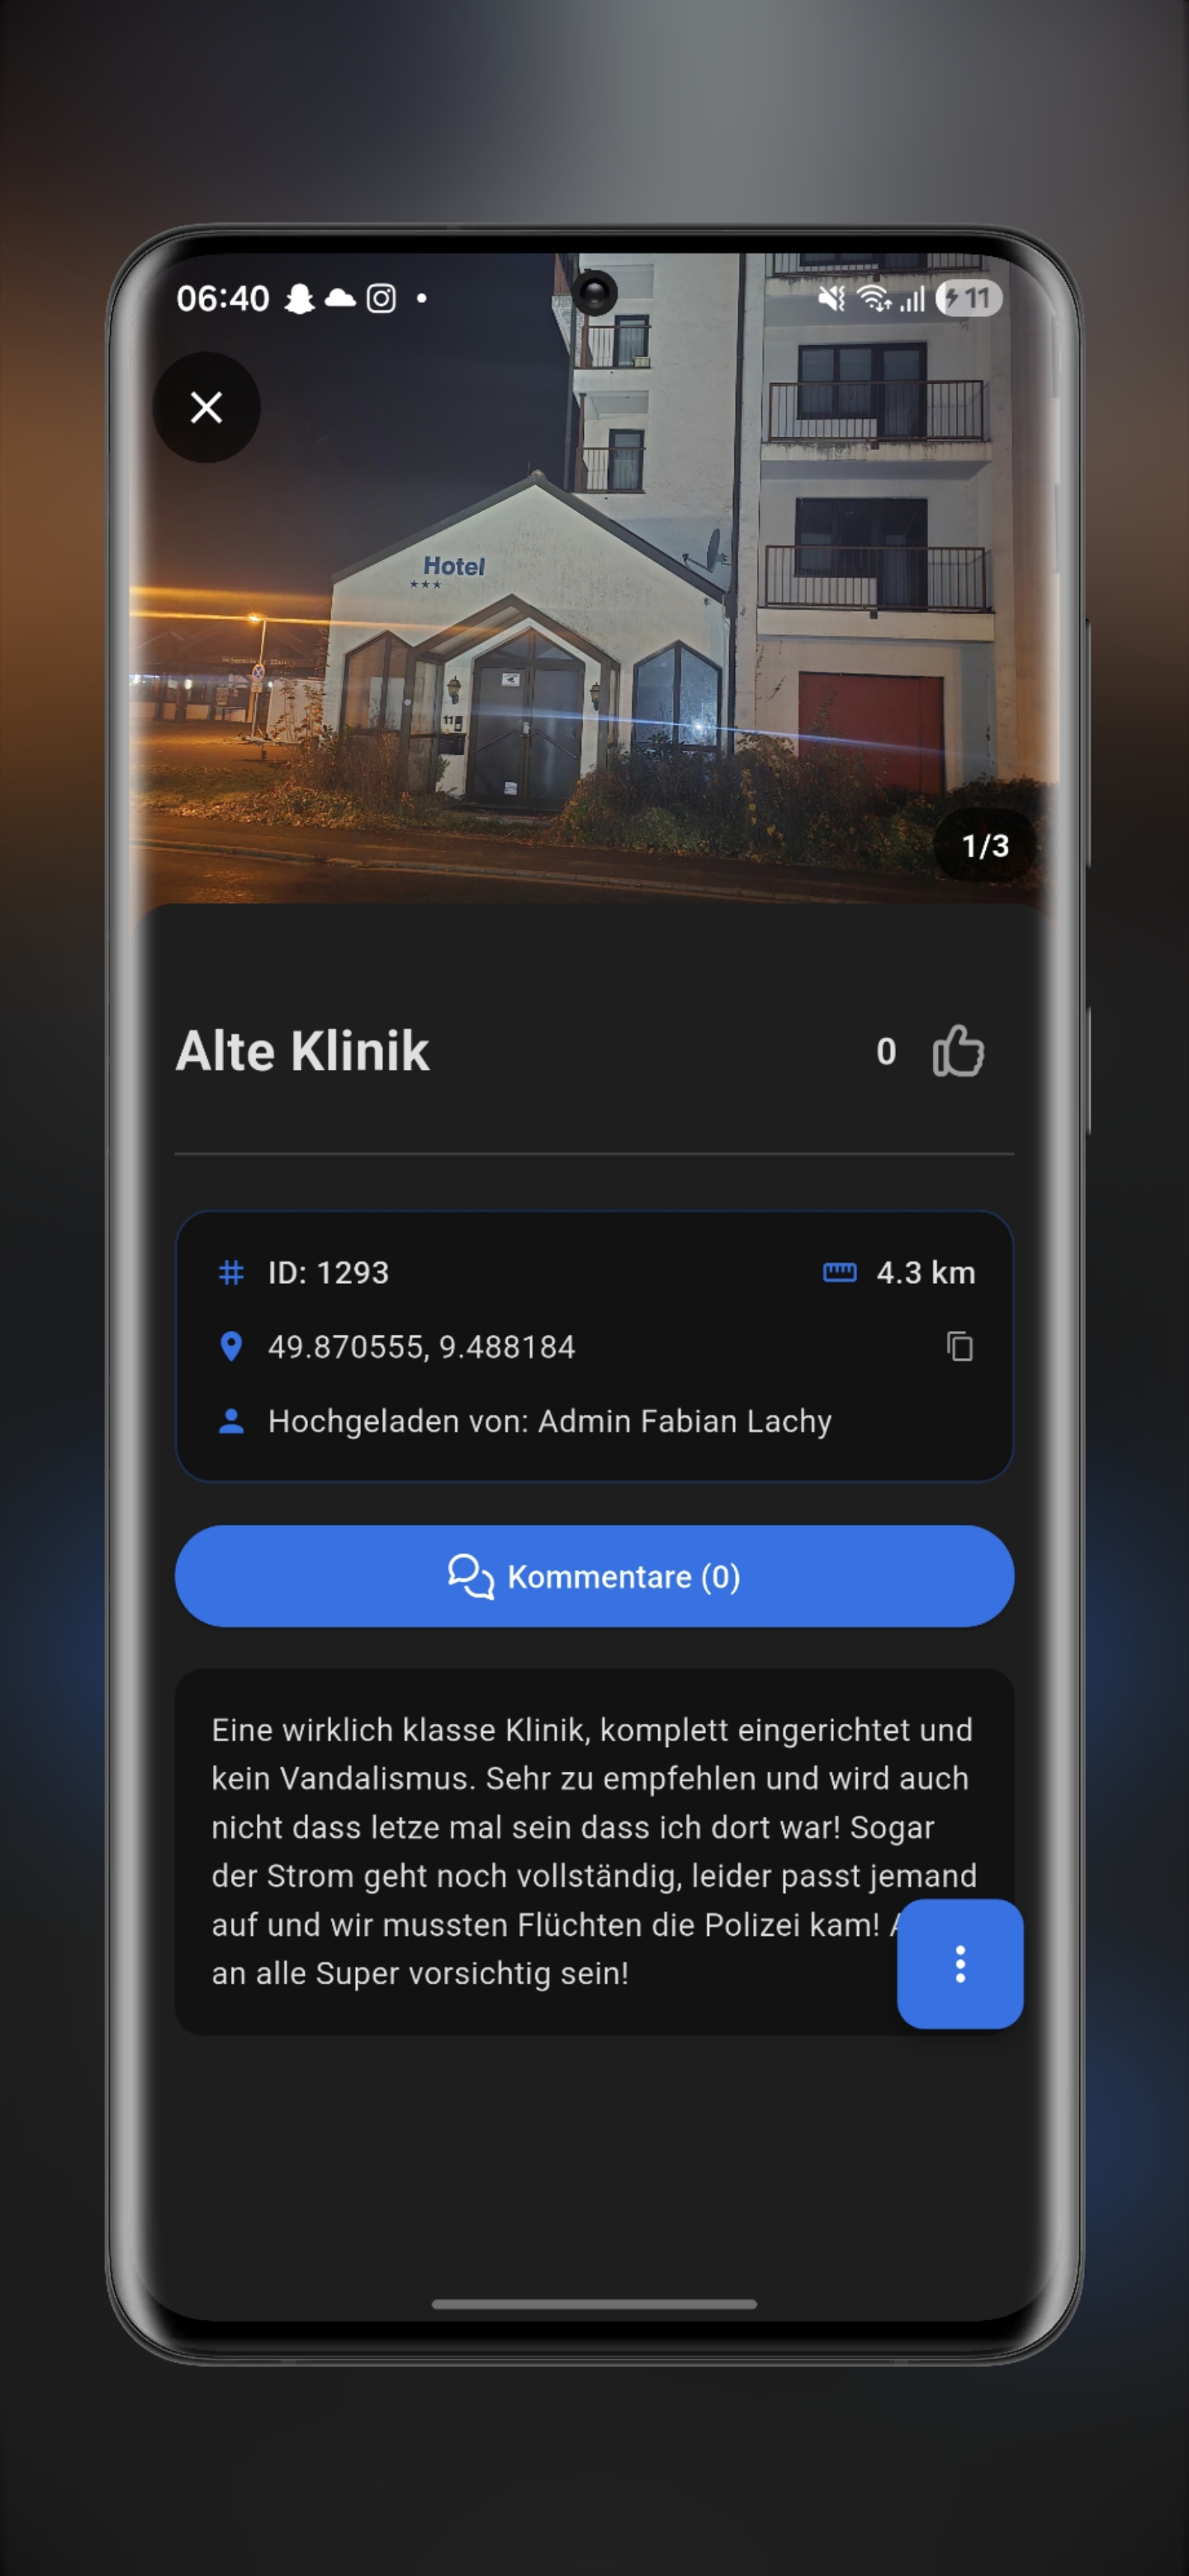
Erlebe die App in Aktion
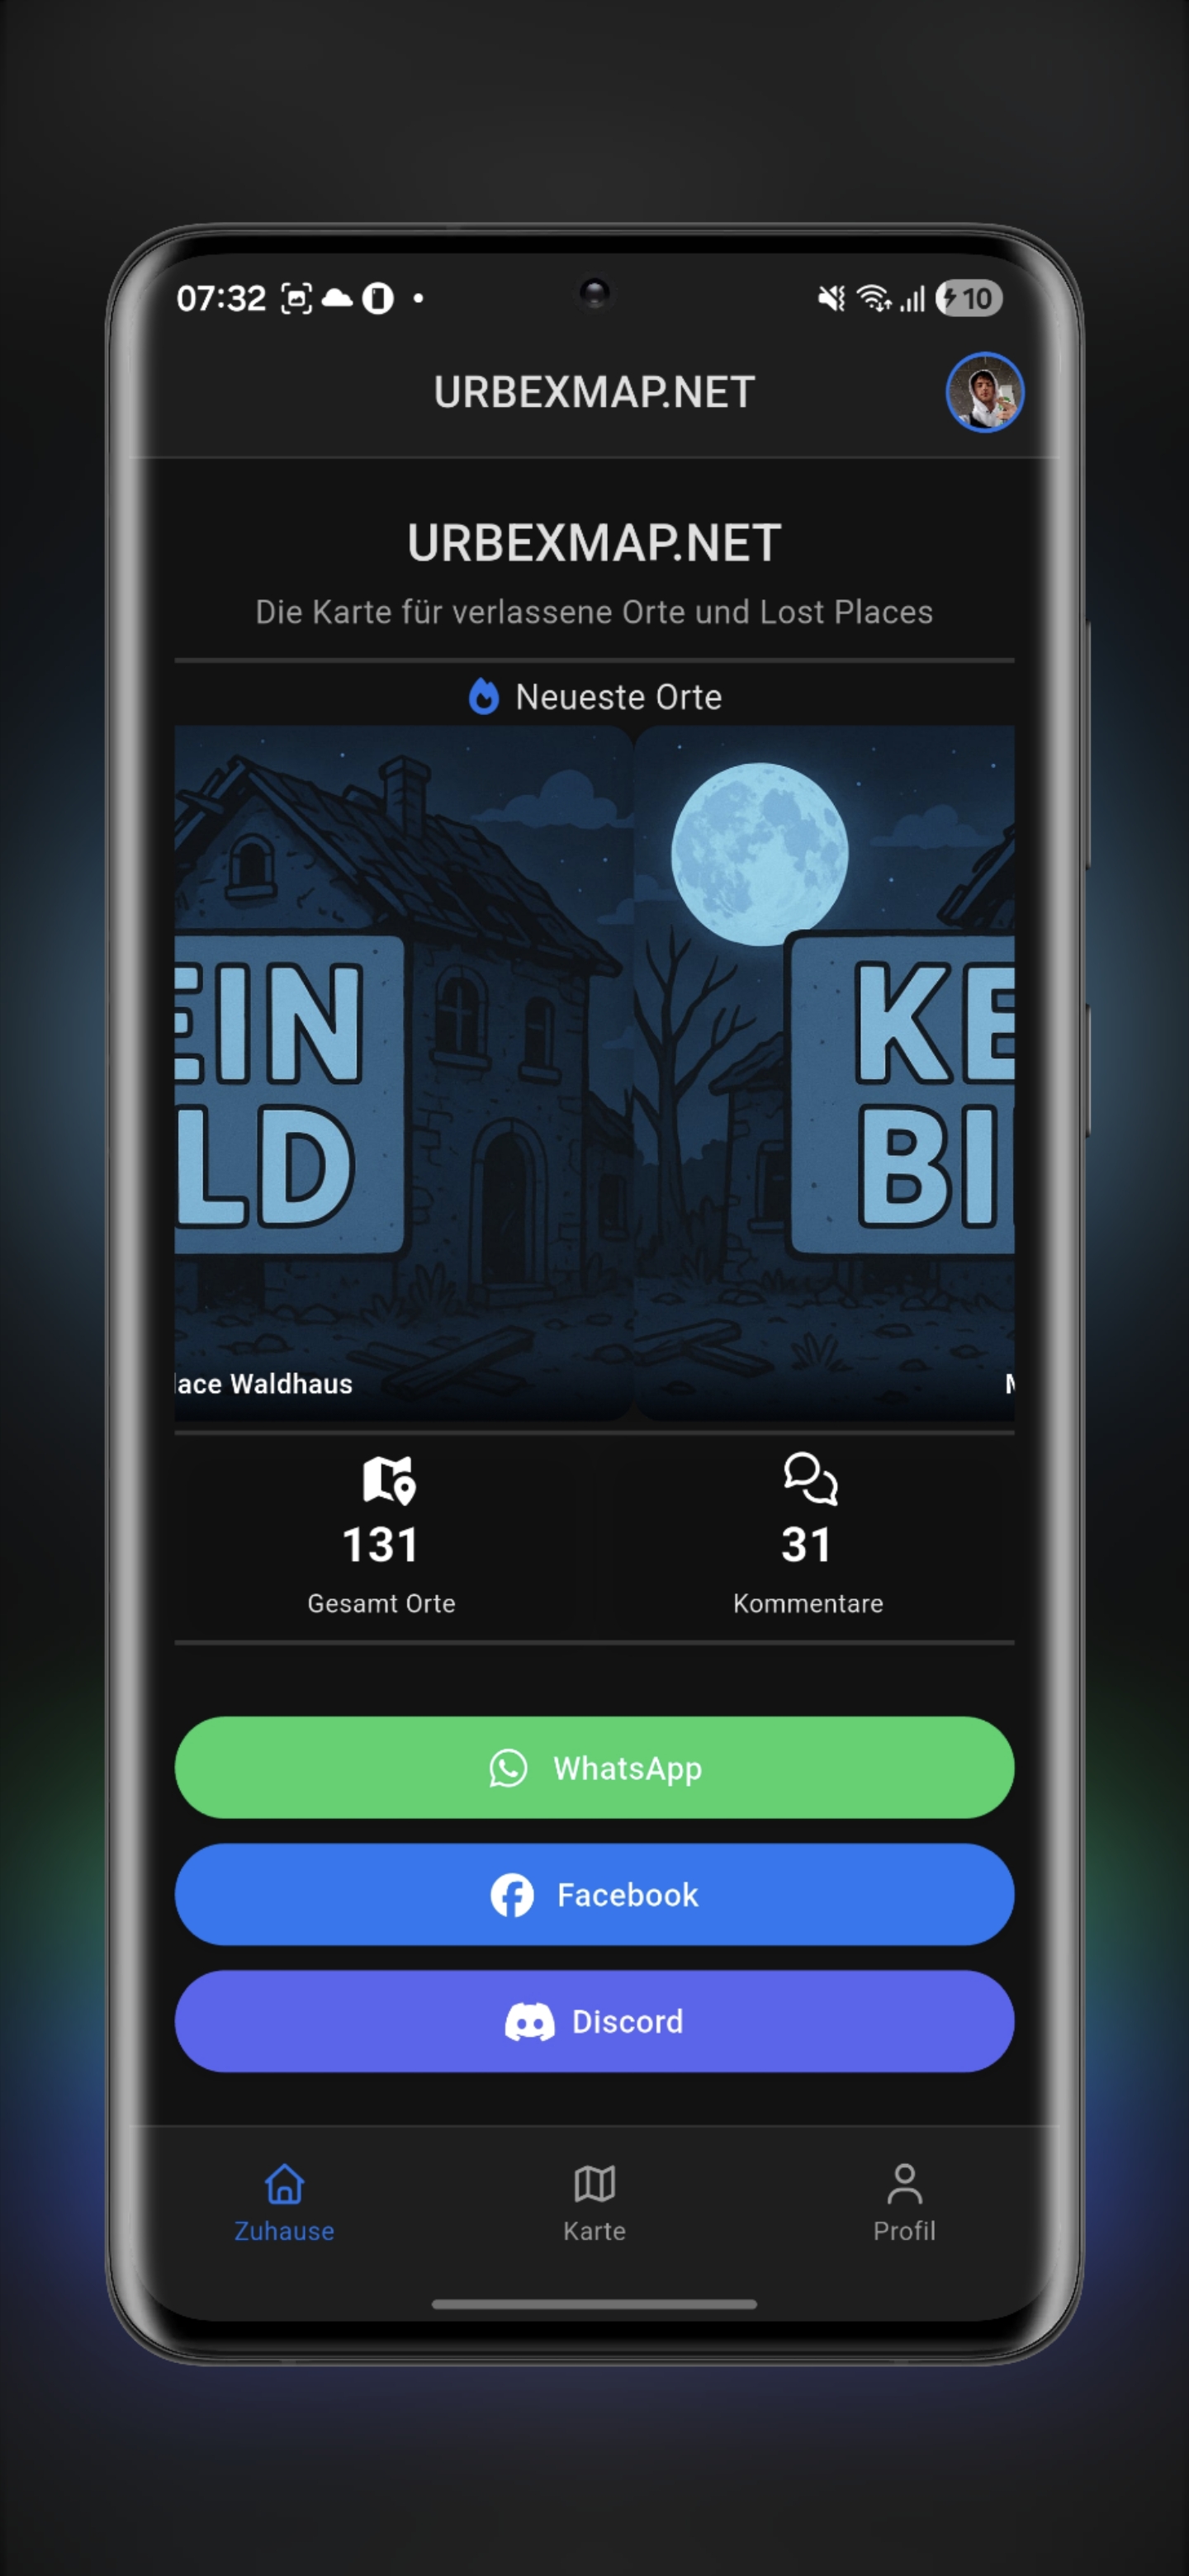
Die moderne App für Lost Places und Urban Exploration. Entdecke, teile und erkunde verlassene Orte mit einer Community von Abenteurern.
Moderne Tools für deine nächste Urbex-Expedition
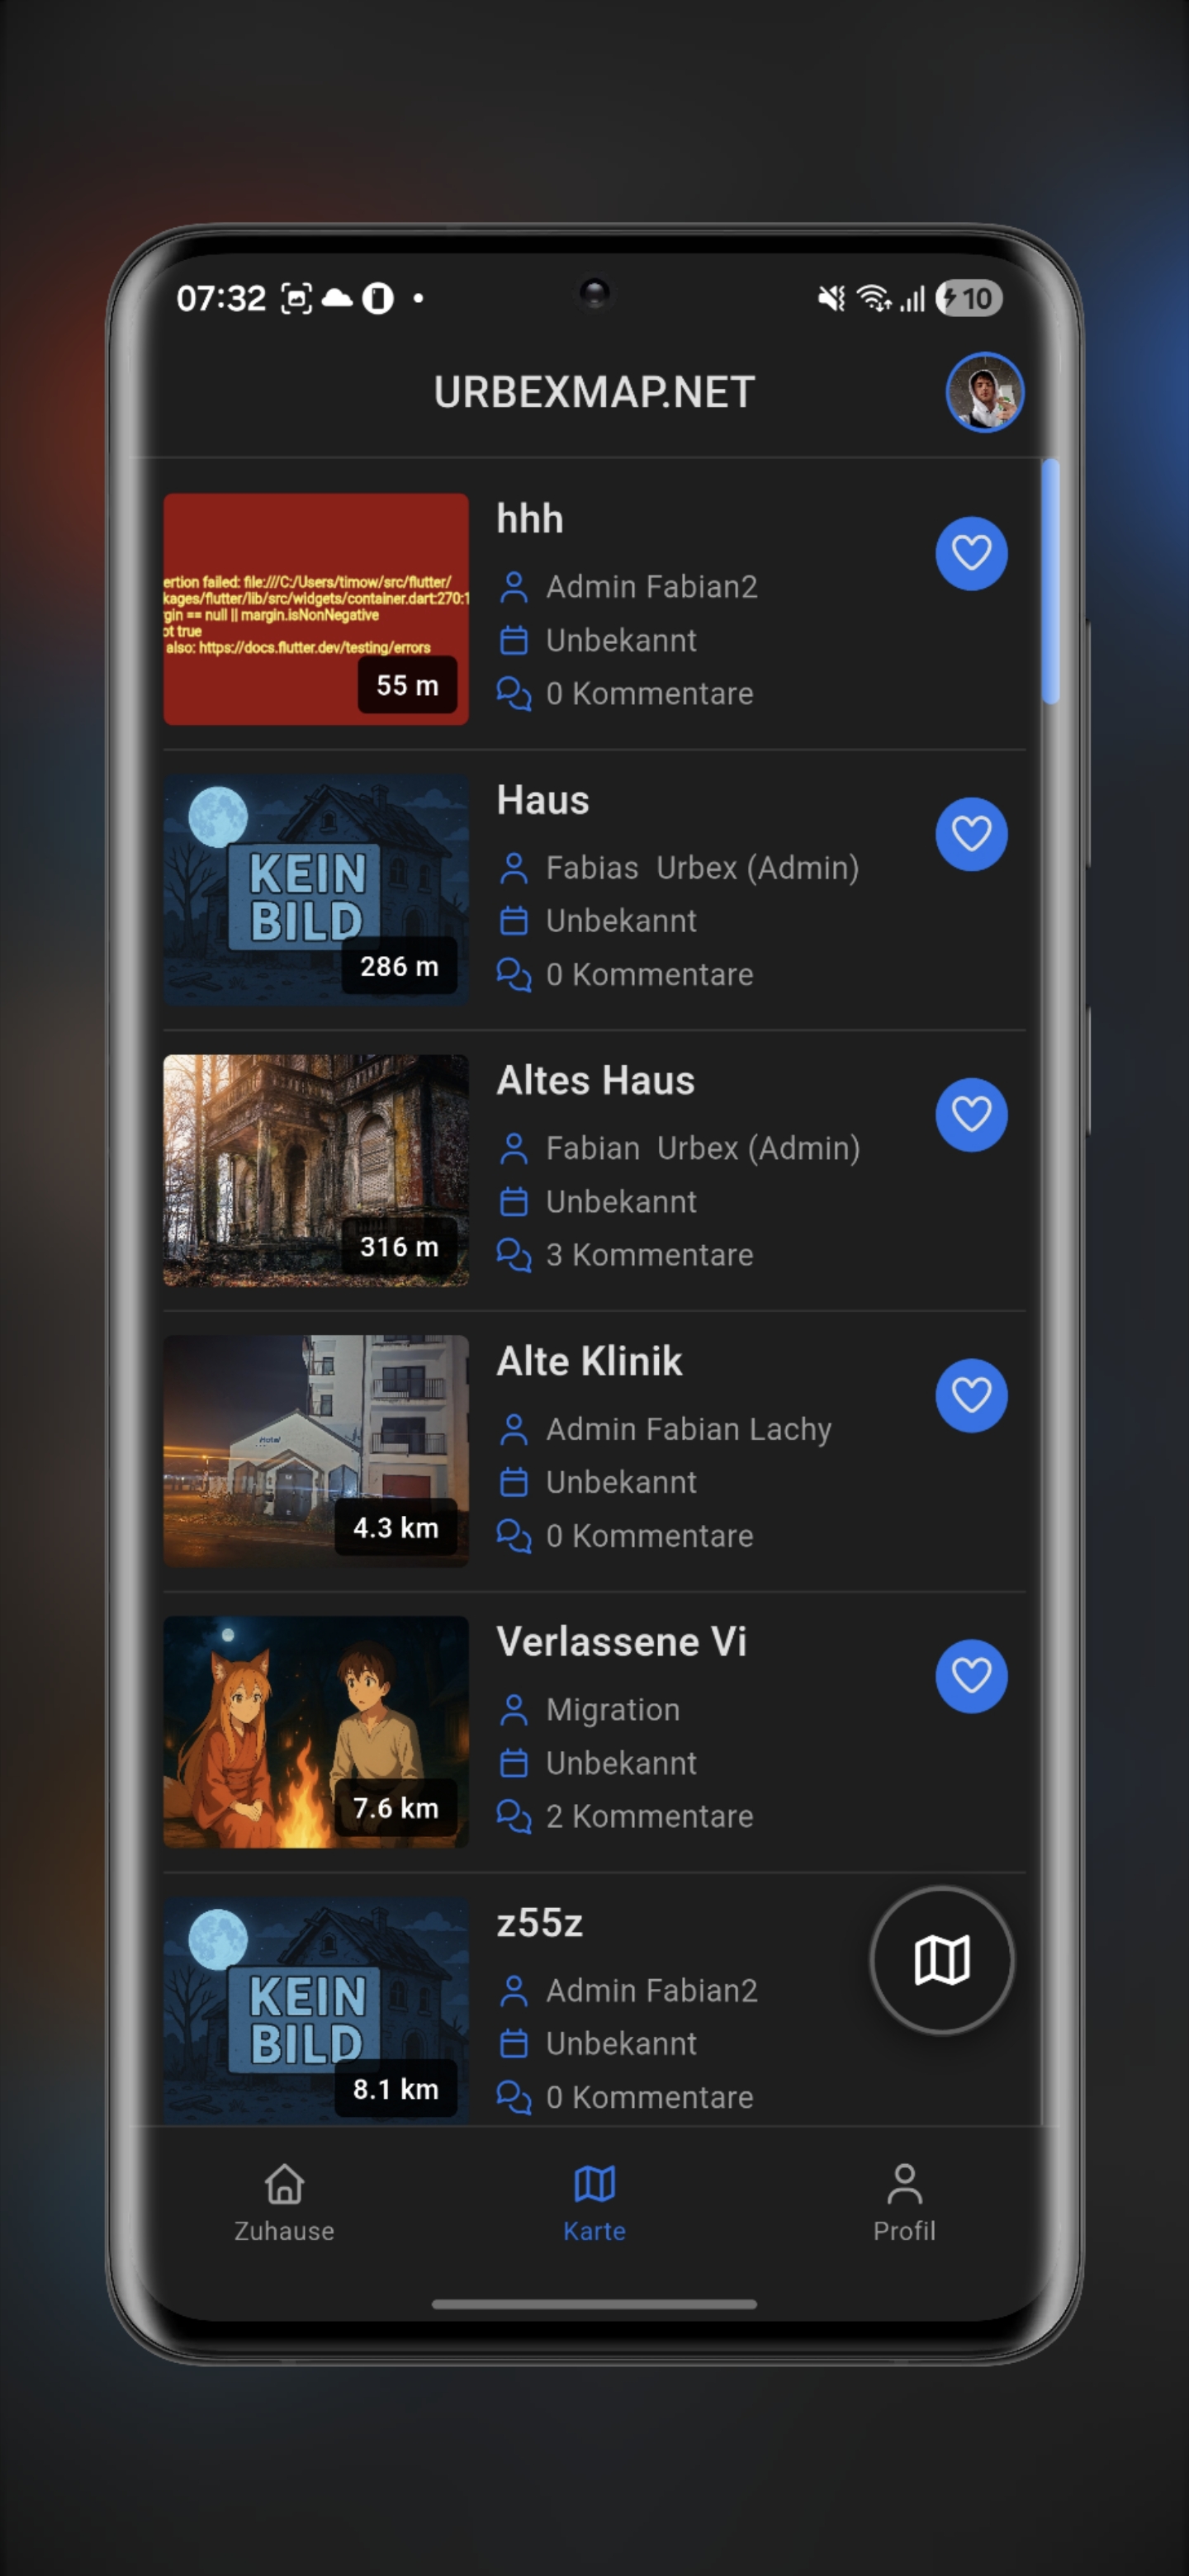
Detaillierte Kartenansicht mit GPS-Unterstützung und Offline-Modus
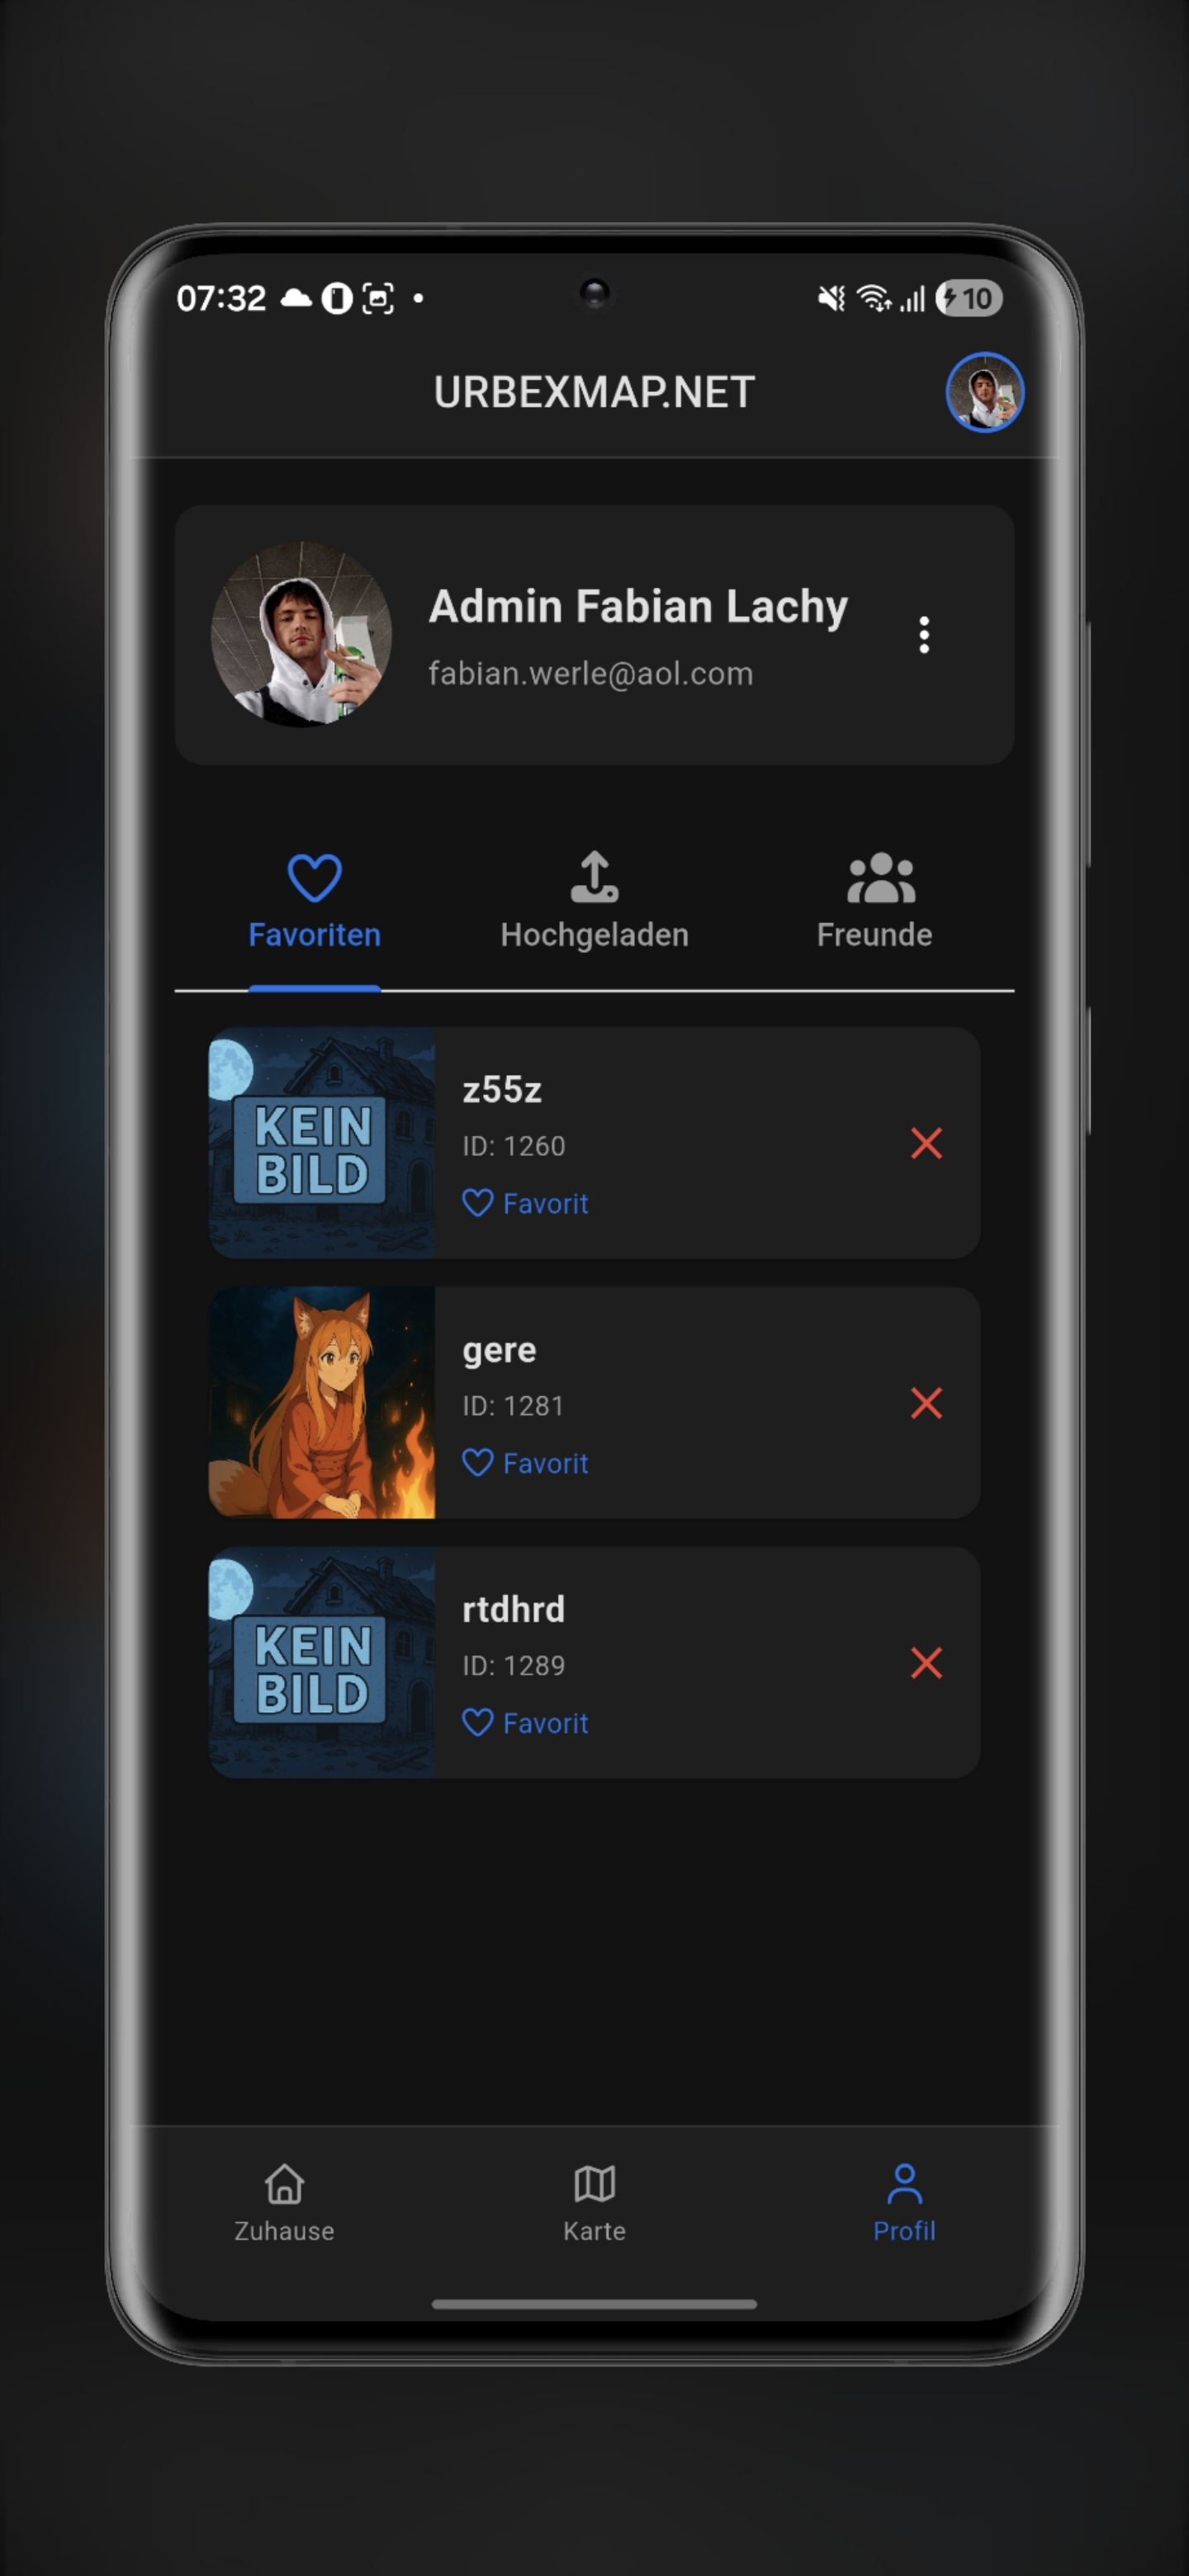
Verwalte Favoriten, teile Locations und entdecke neue Orte
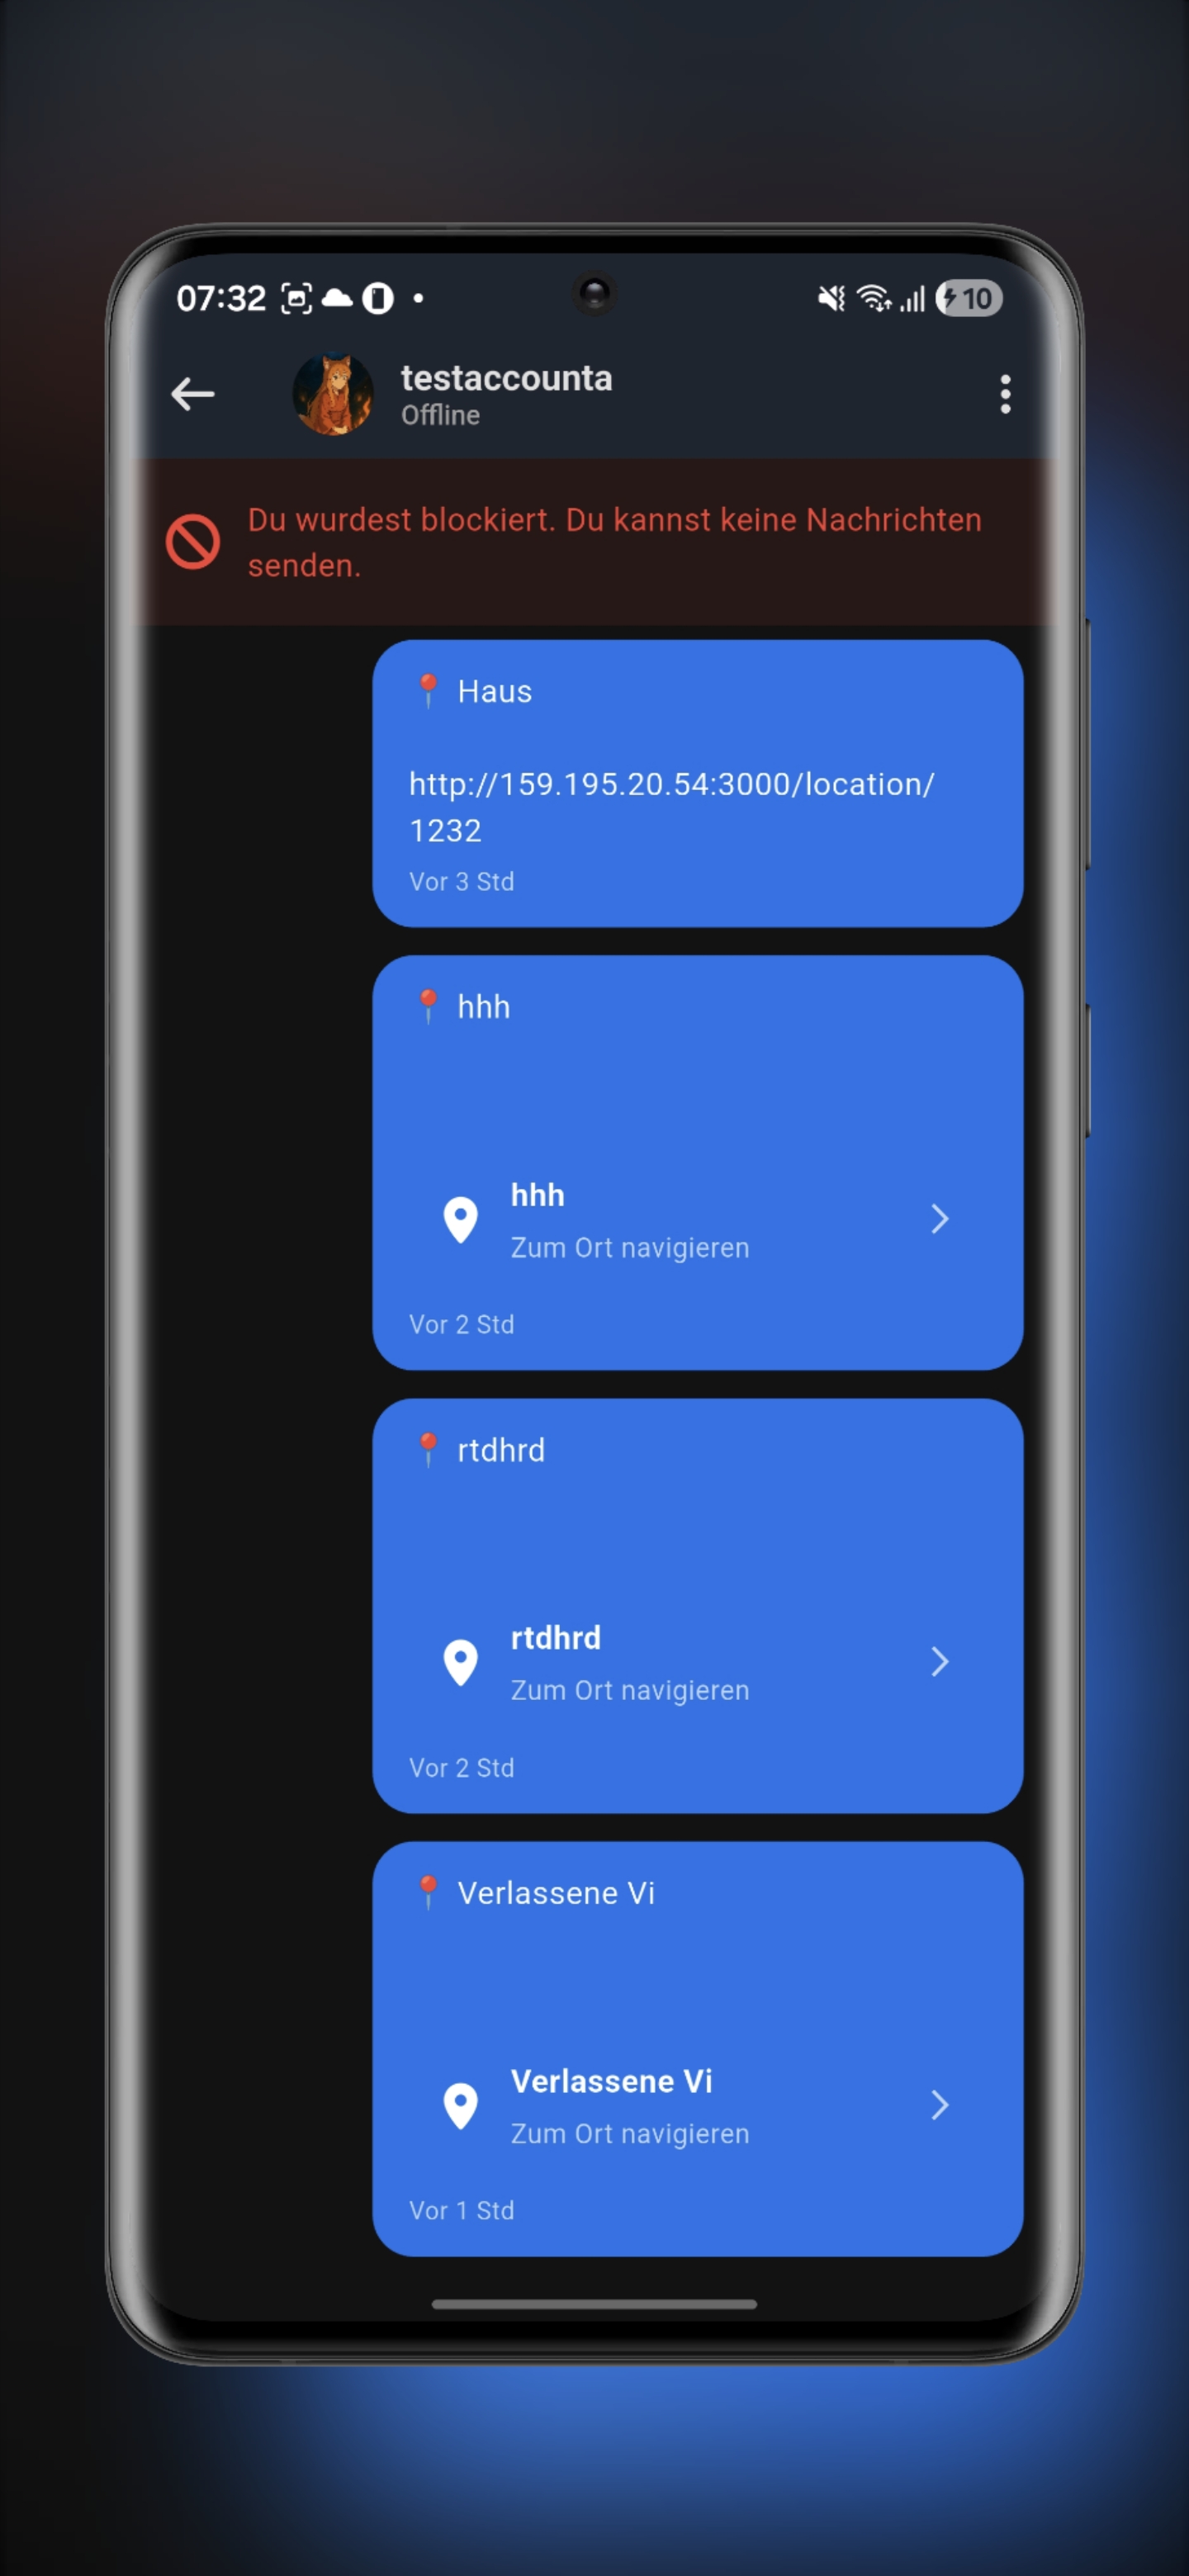
Tausche dich mit anderen Explorern aus und teile Erfahrungen
Teile Fotos und erkunde die Entdeckungen anderer Explorer
Perfekt für nächtliche Erkundungen mit verschiedenen Themes
Vollständige Kontrolle über deine Daten und Privatsphäre
Erlebe die App in Aktion
Urbexmap ist die moderne Plattform für Urban Explorer und Lost Place Enthusiasten. Wir verbinden eine leidenschaftliche Community von Abenteurern, die die Schönheit des Verfalls schätzen und verlassene Orte verantwortungsvoll erkunden.
Mit modernster Technologie und einem Fokus auf Benutzerfreundlichkeit bieten wir dir alle Tools, die du für deine nächste Urbex-Expedition brauchst.
How to Change the Name of Your Local Account in Windows 11: A Step-by-Step Guide
Changing the name of your local account in Windows 11 is a straightforward process that can be completed in a few simple steps. In this review, we'll walk you through the process and provide additional tips and insights to help you manage your user accounts effectively.
Why Change Your Local Account Name in Windows 11?
Before we dive into the process, let's consider a few scenarios where you might want to change your local account name:
Method 1: Change Your Local Account Name via Settings
Method 2: Change Your Local Account Name via Control Panel
control and press Enter to open the Control Panel.Method 3: Change Your Local Account Name via Command Prompt
For advanced users, you can change your local account name using the Command Prompt: how to change the name of my local account in windows 11 hot
cmd and press Enter to open the Command Prompt.net localgroup Administrators /add "YourNewAccountName" (replace "YourNewAccountName" with your desired account name).Additional Tips and Insights
Conclusion
Changing the name of your local account in Windows 11 is a simple process that can be completed using the Settings app, Control Panel, or Command Prompt. By following these steps, you can personalize your account name to suit your preferences. If you encounter any issues or have further questions, feel free to explore Microsoft's support resources or seek assistance from a qualified IT professional.
Rating: 4.5/5
This review provides a clear and concise guide on how to change the name of your local account in Windows 11. The step-by-step instructions and additional tips make it easy for users to manage their accounts effectively. The only suggestion for improvement would be to include more screenshots or visuals to illustrate the process. Overall, this review is a helpful resource for Windows 11 users looking to personalize their local account names.
To change the name of your local account in Windows 11, you can use several built-in tools. Each method updates the display name seen on your login and start screens. Method 1: Using the Control Panel (Easiest) This is the most straightforward method for casual users. How To Change Username In Windows 11 10 Dec 2024 —
To change the name of a local account in Windows 11, the most direct method is Control Panel How to Change the Name of Your Local
. This process updates the display name seen on the welcome and start screens, though it does not change the user profile folder name (e.g., C:\Users\OldName Method 1: Via Control Panel (Easiest)
This is the standard way to update the display name for a local account bar on the taskbar and type Control Panel Set the "View by" option in the top right to User Accounts , then select User Accounts Change your account name Note: To change another user's name, click Manage another account first and select the desired profile Type the new name into the field and click Change Name
your computer or sign out and back in to see the change take effect Method 2: Using Netplwiz (Advanced) How To Change Username In Windows 11
Open the Control Panel and ensure the view is set to "Category". Click on "User Accounts" and then select "Change account type". How To Change Your Windows 11 Username Fast!
Here’s a concise step-by-step guide to change the name of your local account in Windows 11 (the name that appears on the sign-in screen and Start menu).
If you absolutely cannot sign out right now (e.g., you’re in the middle of work), use the Local Users and Groups manager. This method changes the name immediately without forcing a logoff, though you’ll need to lock your screen to see the effect.
✅ Lock screen – Shows new name after sign-out/in.
✅ Start menu – Reflects new name near profile picture.
✅ File Explorer (ownership) – Right-click C:\Users → your old user folder name remains unchanged. That’s normal and safe.
✅ Task Manager – Press Ctrl + Shift + Esc → Users tab shows new name. You want to use a more descriptive or
Open Computer Management:
Win + X).Navigate to Local Users and Groups:
Rename the user:
OldName).Lock and unlock your PC:
Windows + L to lock the screen.⚠️ Home edition users: Skip this method and use Method 1 or 3.
If the menus are confusing or you want a guaranteed way to change the name, use the terminal.
wmic useraccount list fullOldName with the current name and NewName with what you want):
wmic useraccount where name="OldName" call rename name="NewName"
wmic useraccount where name="John" call rename name="Jonathan"