Profile M – Metadata
and events for
analytics applications

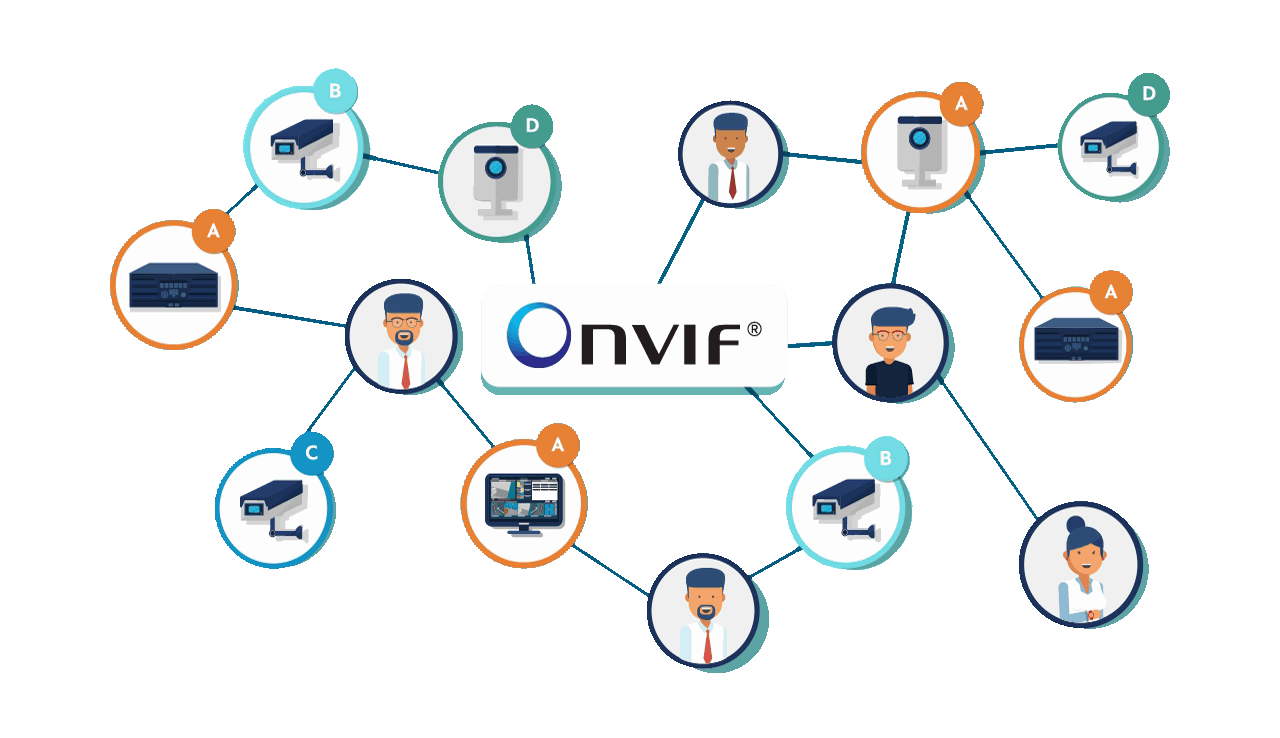
How well do you know ONVIF?

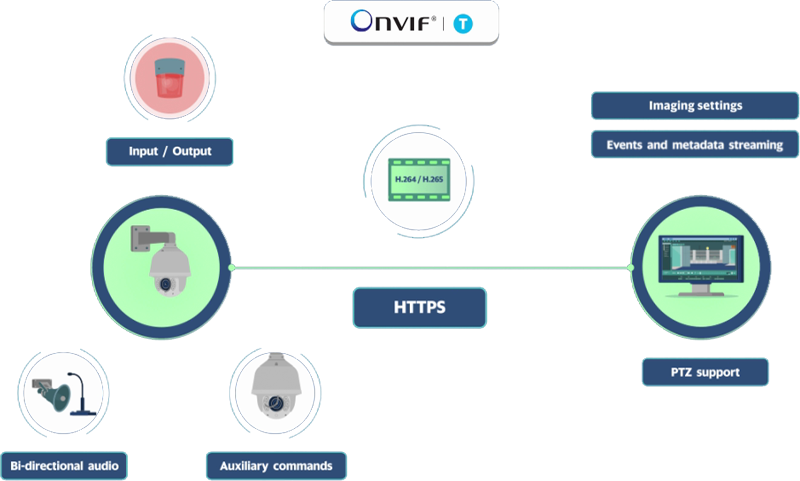
Profile T for
advanced video streaming
ONVIF conformance.
What does it mean?